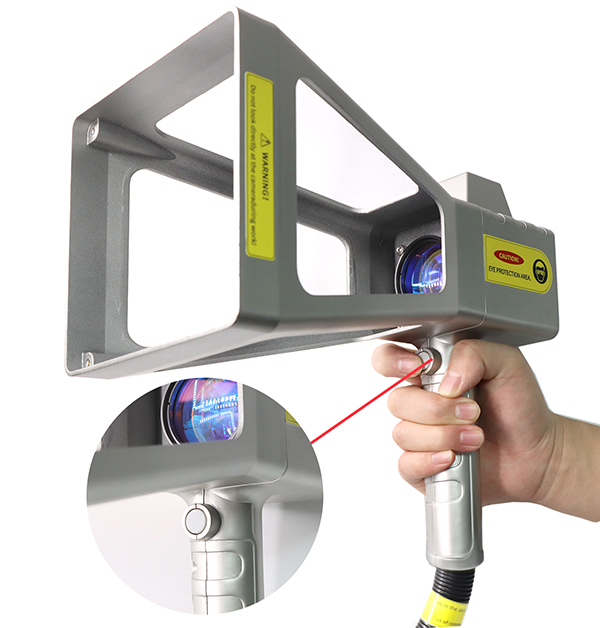
Calibration Method of Galvanometer for Laser Marking Machine
The galvanometer calibration of the laser marking machine is one of the key steps to ensure the accurate and efficient operation of the marking machine. The galvanometer is one of the core components of the laser marking machine, and its angle and position accuracy directly affect the quality and accuracy of marking. In this article, we will introduce the method and steps of galvanometer calibration in detail to help you better understand and apply it in practice.
First of all, before calibrating the galvanometer, it is necessary to ensure that the device is in a stable working state: make sure that the power supply of the device is connected normally, and that all components have been correctly installed and fixed. In addition, it is necessary to check whether the output power of the laser source meets the requirements, and whether the spot of the laser beam is clear and stable.
Before calibrating the galvanometer, we need to prepare some calibration tools, such as laser beam positioner and angle measuring instrument. These tools will help us to accurately correct the angle and position of the galvo.
The first step is to calibrate the horizontal galvanometer. Fix the laser beam positioner on the bench and align it with the reflection point of the galvanometer. By adjusting the angle and position of the galvanometer, the spot of the laser beam forms a clear spot on the workbench. During the calibration process, the angle of the galvanometer needs to be fine-tuned gradually until the spot of the laser beam is stabilized on the target point. Make sure that the angle of the galvanometer is adjusted accurately enough to avoid errors and offsets during the marking process.
Next is to calibrate the vertical galvanometer. Fix the goniometer on the bench and align it with the reflection point of the galvo mirror. By adjusting the angle and position of the galvanometer, the spot of the laser beam forms a vertical line on the worktable. During the calibration process, it is necessary to gradually fine-tune the angle of the galvanometer until the spot of the laser beam is stabilized into a straight line. Make sure the angle of the galvanometer is adjusted accurately enough to ensure the verticality and precision of the marking.
After completing the calibration of the horizontal and vertical galvanometers, we need to calibrate the overall galvanometer. In this step, we need to place the laser beam positioner and angle measuring instrument at different positions, and gradually adjust the overall galvanometer. First, fix the laser beam positioner at a position on the workbench, and adjust the angle and position of the galvanometer so that the spot of the laser beam forms a clear point or line on the workbench. Then, fix the angle measuring instrument at another position, and adjust the galvanometer so that the spot of the laser beam is aligned with the point or line formed at the previous position on the workbench.
During the calibration process of the overall galvanometer, repeated fine-tuning and comparison are required to ensure that the laser beam spots at different positions remain stable and accurate. When correcting, you can judge whether the angle and position of the galvanometer is correct by observing the spot shape and position of the laser beam. If there are problems such as blurring, shifting or deformation of the light spot, it is necessary to further adjust the galvanometer until the ideal result is obtained.
In addition to the angle and position correction of the galvanometer, it is also necessary to pay attention to the influence of environmental factors on the galvanometer. For example, changes in temperature and humidity may cause the galvanometer to expand or contract, thereby affecting the accuracy of the calibration. Therefore, it is very important to ensure the stability and constant temperature of the working environment before performing galvo calibration.
In addition, regular inspection and maintenance of the galvanometer is also an important step to ensure the continuous and efficient operation of the laser marking machine. Regularly clean the surface of the galvanometer to ensure its smoothness and reflective performance; check the fastening of the galvanometer’s fixing parts to ensure that the galvanometer will not affect the marking quality due to looseness; regularly calibrate the galvanometer to detect and repair possible problems in time deviations and problems.
To sum up, the galvanometer calibration of the laser marking machine is a key step to ensure that the marking machine works accurately and efficiently. By carefully adjusting the angle and position of the galvanometer, and paying attention to the influence of environmental factors, the stability and accuracy of the laser beam during the marking process can be guaranteed. Regular inspection and maintenance of the galvanometer is also an important part of ensuring the continuous and efficient operation of the laser marking machine. By correctly applying the galvanometer correction method, the marking quality and production efficiency of the laser marking machine can be improved.


